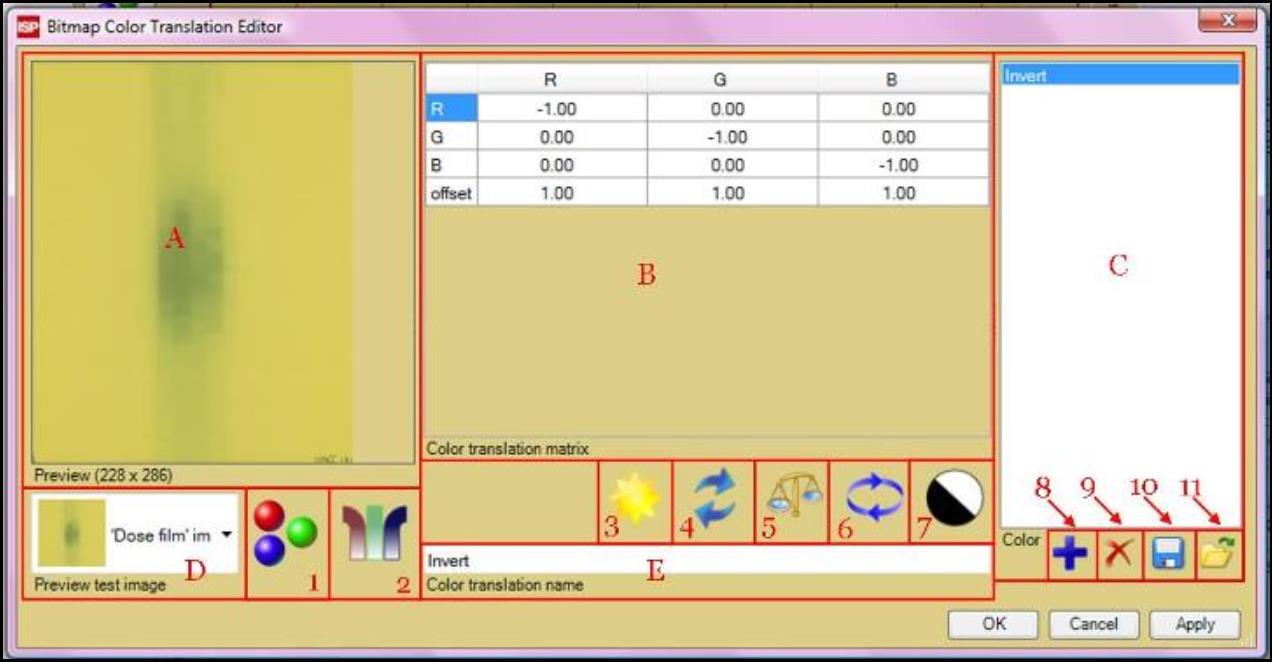
The Bitmap Color Translation Editor can be located via “Color translation tool” in the “Image Panel.” It allows you to create, edit, and delete color translation applied to the image viewing.
A. The “Preview” panel allows you to view the image before and after the translation is applied. Right click inside the panel to change the displayed color channel and the image size.
B. The “Color translation matrix” allows you to enter factors into matrix M, which describes the image color translation.


C. The “Color translation list” panel shows a list of color translations that are available at working panel. It allows you to view, select, and delete color translations on the list.
D. The “Image selector” drop down list allows you to select image to test and preview color translation effect.
E. The “Color translation name” window allows you to view or change the name of color translation selected or enter name of new translation created.
1. “Displayed color selector” button allows you to select the displayed colors and effects in the test image in “Preview” panel, A. Please note that the selection does NOT affect the translation properties but changes how the test image is displayed only. To turn off all the effect and change the view back to all three color channels, click on the icon and select “Normal view.”
2. Click on the icon to turn on and off the color translation on the test image in “Preview” panel, A. The icon appears as  when the translation is turned on.
3. Select “New” to start a new translation and reset matrix values to default.
4. Select  to redo last undo action. Select
  to undo last change of the image translation.
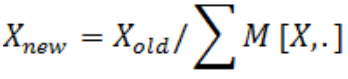
5. The “Balance” button allows you to balance color translation matrix by normalization. Click on the button and select the color channel. The new value of the cell in the column, Xnew, is calculated by:
6. The icon allows you to modify translation matrix by transposing and inverting.
7. The icon identifies the color translation selected. Click on the icon to change the color translation icon from file.
8. The “Add” button allows you to add current color translation on to the “Color translation list” panel, C.
9. The “Delete” button allows you to delete selected color translation on the “Color translation list” panel, C.
10. The “Save” button allows you to save the color translation list on the “Color translation list” panel, C.
11. The “Open” button allows you to open the color translation list saved from file.